Bart Support
Content configuration
Learn more about ‘Configuration’
What's New
The new intranet update includes significant improvements and changes.
Improvements applied to existing features and functionality include:
-
- Left Hand Side (LHS) - the LHS of the users screen has now been prioritised for just content creation.
- Right Hand Side (RHS) - the RHS Draw is now the ‘administrative’ section of the content types.
- Configuration Panel - Is now located at the bottom of the content type and contains ‘Engage’, ‘Links’, ‘Promote’, ‘Search’, ‘Tags’ and ‘Target’
- WYSIWYG Options - Post update when you access the WYSIWYG you will see the options specific to your role
- Workflow and Revisions - Menu items now have workflow and revisions
Links
Add internal and external ‘Links’ to the content.
Steps
-
- Locate the ‘Configuration’ section at the bottom of the page

Select configuration
- Select the “Links” tab
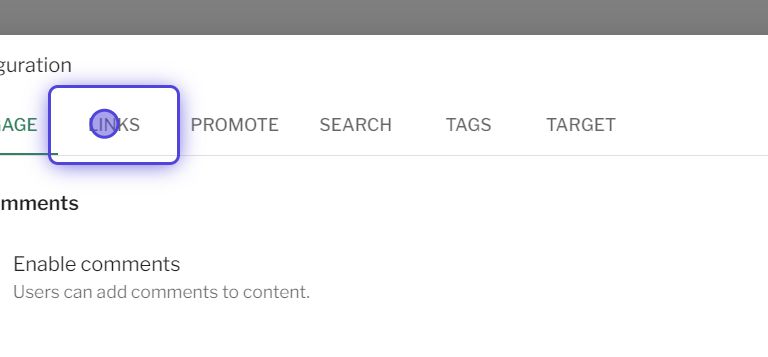
Links tab
- Select the options of Links from:
- ‘Subheader’
- ‘Content type’
- ‘Menu item’
- ‘File’
- ‘External link’
- Select the “Add Another Item” button to add more than one link to the content
- On the “LHS” of the Link Select and Drag the”Drag handles” to change the order of the links
- On the “RHS” of the Link Select the “Delete” button to remove the link
- In the top right corner of the “Configuration” screen select the “Show Order” button to view and edit the order of the links.
- Locate the ‘Configuration’ section at the bottom of the page
Tags
Add ‘Tags’ to the content type.
Steps
- Locate the ‘Configuration’ section at the bottom of the page
- Select the “Tags” tab

Tags tab
- Input a “General” topic you would like to add to the content
- Input a “Project” that the content links with
- Input a “Primary Category” – to tag your content with one of the primary categories
- Input a “Country” of where the content has been produced and will appear in the filtered results
- Input a “Security Classification” relating to the content.
Target
‘Target’ the content to specific users.
Steps
- Locate the ‘Configuration’ section at the bottom of the page
- Select the “Target” tab

Target tab
- Select the “Team” that you would like the content to be visible to
- Select the “Location” that you would like the content to be visible to
- Select the “Role Grade” that you would like the content to be visible to
- Select the “Region” that you would like the content to be visible to
Engage
Define how users can ‘Engage’ using comments.
Steps
- Locate the ‘Configuration’ section at the bottom of the page
- Select the “Engage” tab

Select engage
- Tick “Enable Comments” to allow users to comment
Promote
‘Promote’ featured content.
Steps
- Locate the ‘Configuration’ section at the bottom of the page
- Select the “Promote” tab

Promote tab
- Select the checkbox ‘Display page through the featured content widget’
Search
Configure how the ‘Search’ function will work within the content
Steps
- Locate the configuration section at the bottom of the page
- Select the “Search” tab

Search tab
- Select “Generate automatic URL Alias”
- To change the automatic “URL Alias” created
- Manually input a “URL Alias” below
View full video demo
Couldn't find what you're looking for?
We're here to help. Please raise a support request via our help desk and we'll get back to you asap