Bart Support
Text wrap with images
Learn more about ‘Text wrapping‘ for ‘Images‘ on the intranet
How To – Text Wrap Images
Steps
- Navigate to an area on the ‘Intranet‘ that you would like to add an ‘Image‘ to the ‘Content‘
- Either select the ‘Three dots‘ on the existing content and then select ‘Edit‘, Or ‘Create‘ a new piece of ‘Content‘
- Here you will be presented with the ‘WYSIWYG‘
- Add the relevant ‘Content‘
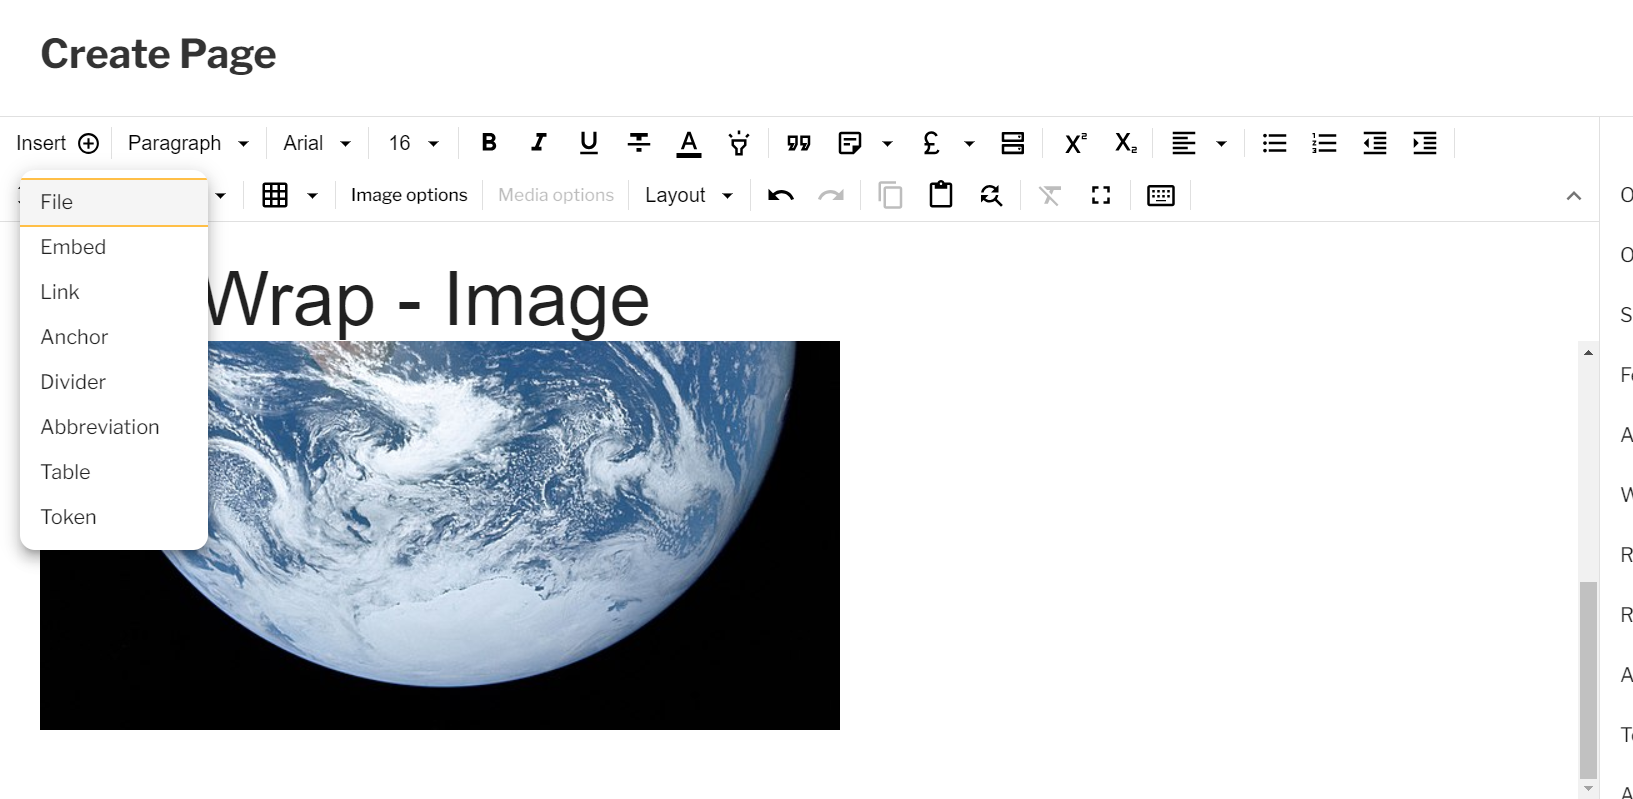
- In the ‘WYSIWYYG‘ toolbar select the ‘Insert‘ button then ‘File‘
Text Wrapping – Insert File
- Upload the ‘Image‘ file of your choice
- Add the ‘File name‘, choose between ‘Alt text‘ and ‘Decorative image‘
- Add ‘Alt text‘ if necessary
- Add ‘Tooltip text‘
- Select the ‘Image‘ and then select ‘Image options‘ in the ‘WYSIWYG Workbar‘
- Select the ‘Text wrapping‘ tab
- Choose the ‘Style‘ you want

Text Wrapping – Image Options
- Select ‘Save‘
Couldn't find what you're looking for?
We're here to help. Please raise a support request via our help desk and we'll get back to you asap