Bart Support
Theme
Learn more about ‘Theme‘ in ‘Adminstration‘
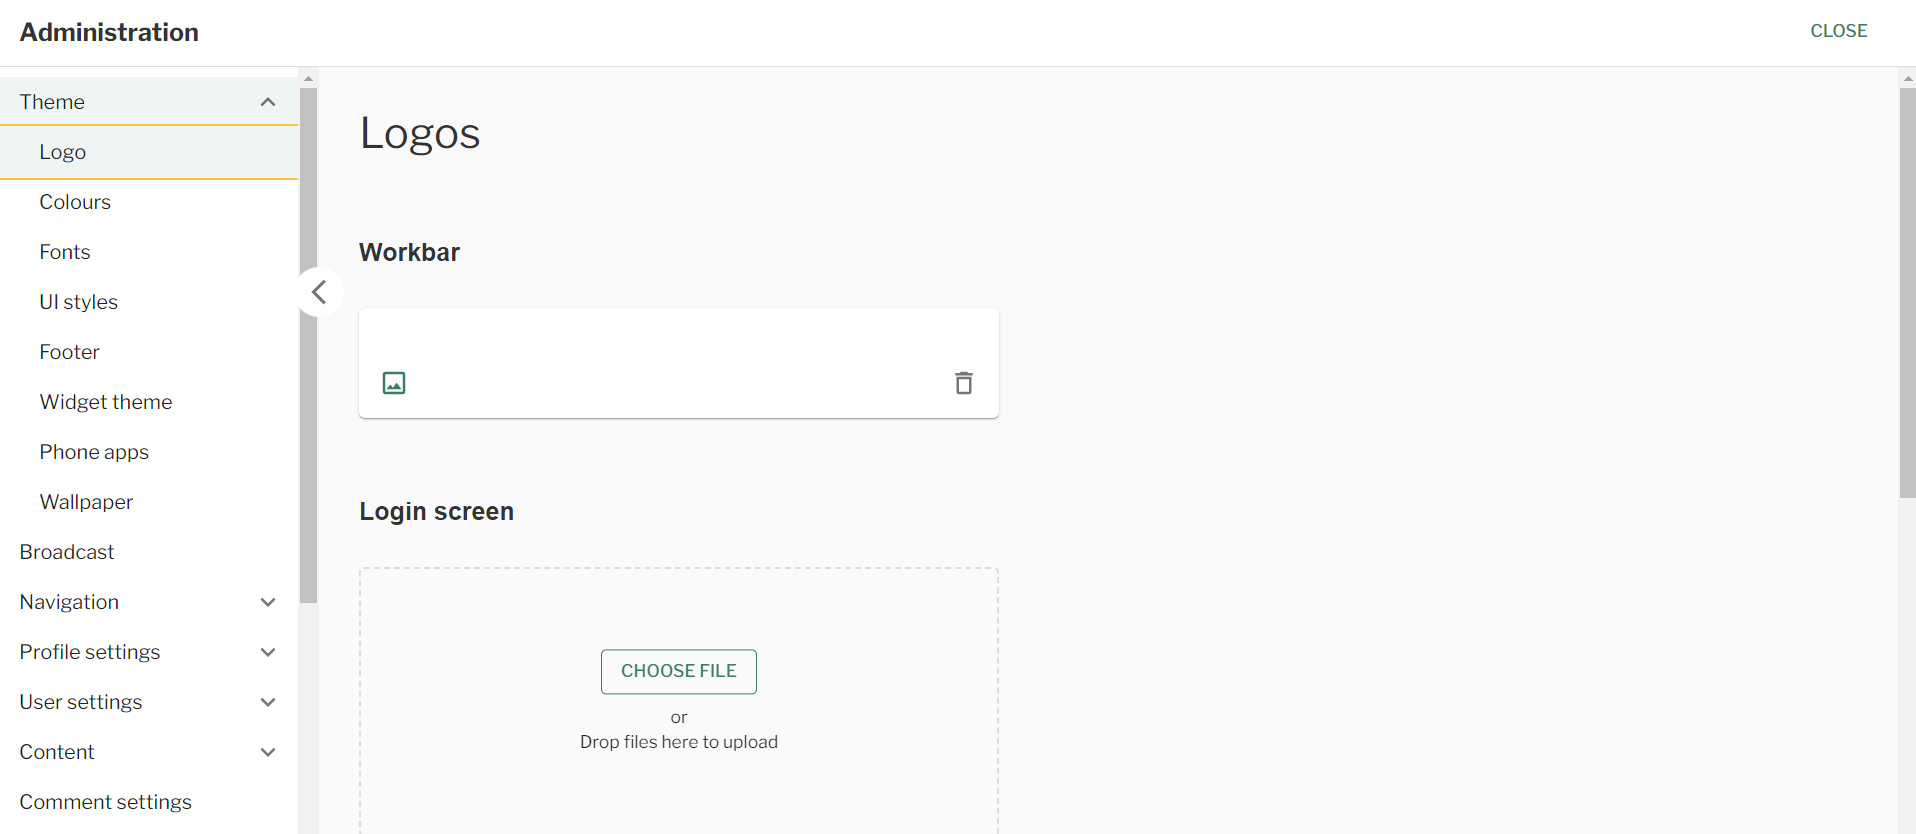
Theme – Logo
Steps
- Navigate to the ‘Workbar’ and select the cog icon (Administration)
- You will be directed to the ‘Administration’ screen
- Select the ‘Theme‘ dropdown on the ‘LHS‘ (Left Hand Side)
- Select the ‘Logo‘ tab
- Select the ‘Image‘ that you would like to display in your ‘Workbar‘
- Select the ‘Image‘ that you would like to display in your ‘Login Screen‘
- Select the ‘Image‘ that you would like to display for your ‘Favicon‘
Theme – Logo
Theme – Colours
Steps
- Navigate to the ‘Workbar’ and select the cog icon (Administration)
- You will be directed to the ‘Administration’ screen
- Select the ‘Theme‘ dropdown on the ‘LHS‘ (Left Hand Side)
- Select the ‘Colours‘ tab
- Select the ‘Colour Scheme‘ of the existing ones you’ve already created
- Configure a new ‘Colour Scheme‘:
- Input the ‘Colour Scheme Name‘
- Input the different ‘Colours‘ you want
- Choose to import a ‘Colour Scheme‘
- Select ‘Save‘ or ‘Export Styles

Theme – Colours
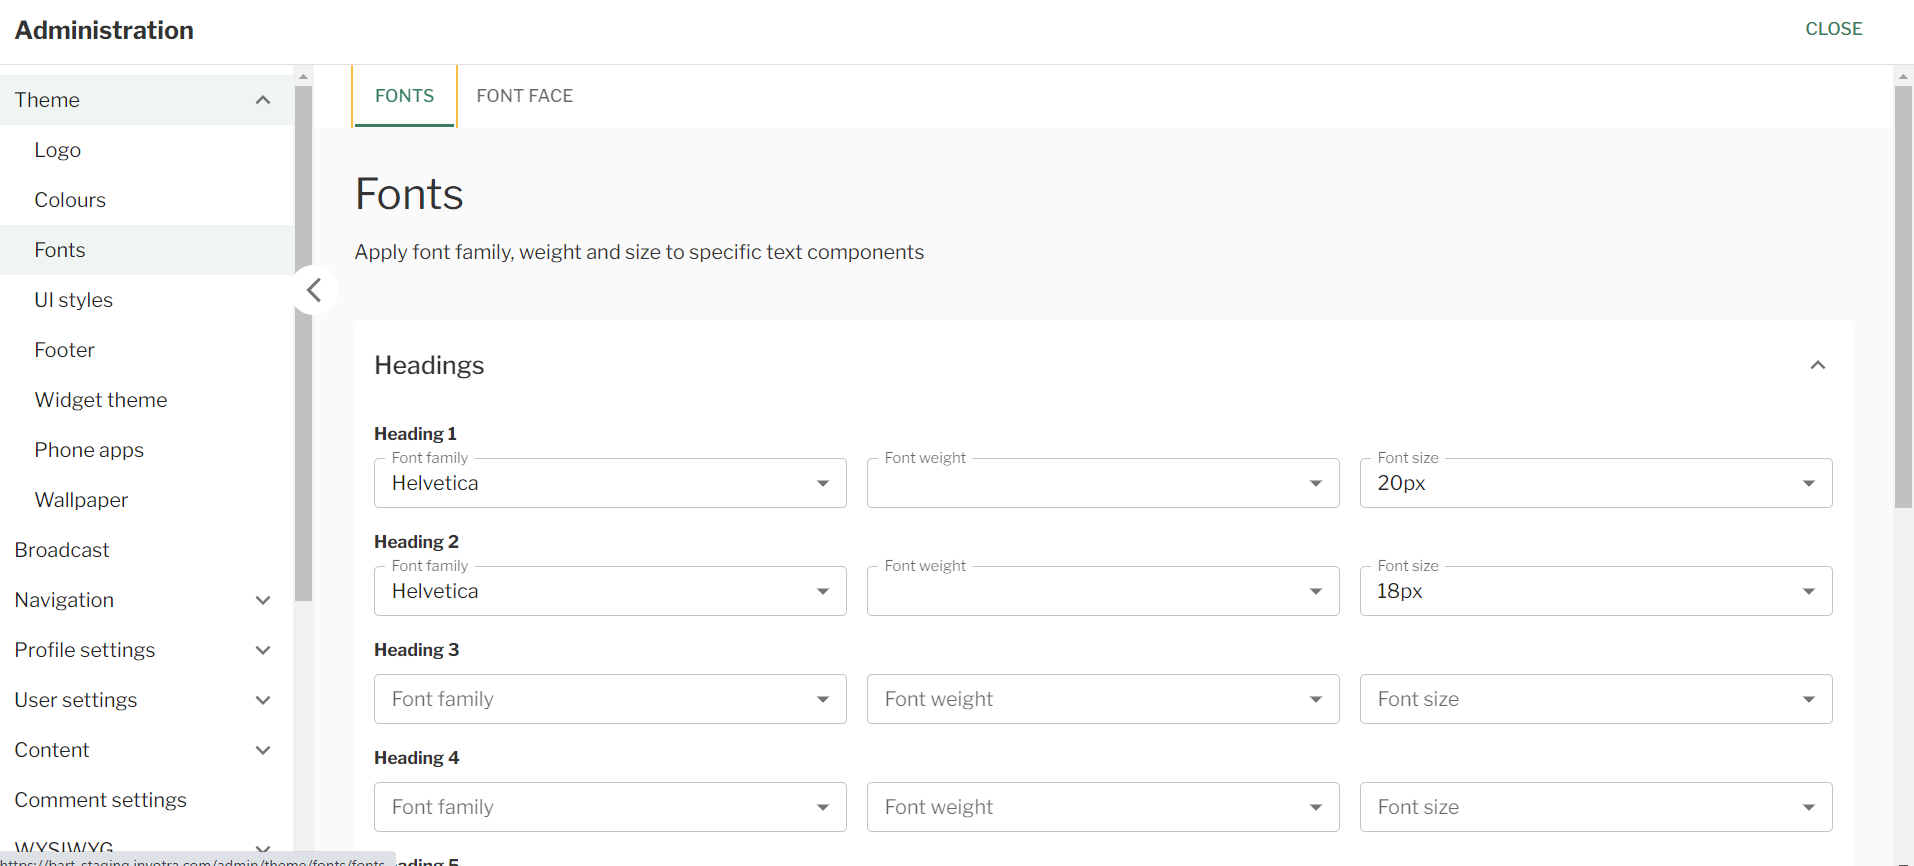
Theme – Fonts
Steps
- Navigate to the ‘Workbar’ and select the cog icon (Administration)
- You will be directed to the ‘Administration’ screen
- Select the ‘Theme‘ dropdown on the ‘LHS‘ (Left Hand Side)
- Select the ‘Fonts‘ tab
- Input the following for the ‘Headings‘:
- Font family
- Font weight
- Font size
- Input the following for ‘Body‘:
- Font family
- Font weight
- Font size
- Select the ‘Font face‘ tab
- Input the following:
- CSS font family
- Font style
- Font weight
- Add file
- Add another item if required
- Select ‘Save‘
Theme – Fonts
Theme – UI Styles
Steps
- Navigate to the ‘Workbar’ and select the cog icon (Administration)
- You will be directed to the ‘Administration’ screen
- Select the ‘Theme‘ dropdown on the ‘LHS‘ (Left Hand Side)
- Select the ‘UI Styles‘ tab
- Select the ‘Elevation‘ and ‘Border-radius‘ you would like
- Below you will be able to view the styles in ‘Real time‘
- Select ‘Save‘

Theme – UI Styles
Theme – Footer
Steps
- Navigate to the ‘Workbar’ and select the cog icon (Administration)
- You will be directed to the ‘Administration’ screen
- Select the ‘Theme‘ dropdown on the ‘LHS‘ (Left Hand Side)
- Select the ‘Footer‘ tab
- Select the ‘Add Footer‘ button
- Here you will be presented with the ‘WYSIWYG‘ to configure your footer
For more guidance on using the WYSIWYG options and Layout plugin - Once you have configured the ‘Footer‘ select whether or not to ‘Display footer‘
- Select ‘Save‘

Theme – Footer
Theme – Widget Theme
Steps
- Navigate to the ‘Workbar’ and select the cog icon (Administration)
- You will be directed to the ‘Administration’ screen
- Select the ‘Theme‘ dropdown on the ‘LHS‘ (Left Hand Side)
- Select the ‘Widget Theme‘ tab
- Select the relevant checkbox for whether the border colour appears at the top or bottom of the ‘pane title’
- Select the ‘Border colour’ and ‘Border width‘
- Input the widget title ‘Font weight‘ and ‘Colour‘
- Add the ‘Card elevation‘ and ‘Border radius‘
- Choose to ‘Export styles’ if you would like
- Alternatively chose to ‘Import style‘
- Select ‘Save‘

Theme – Widget Theme
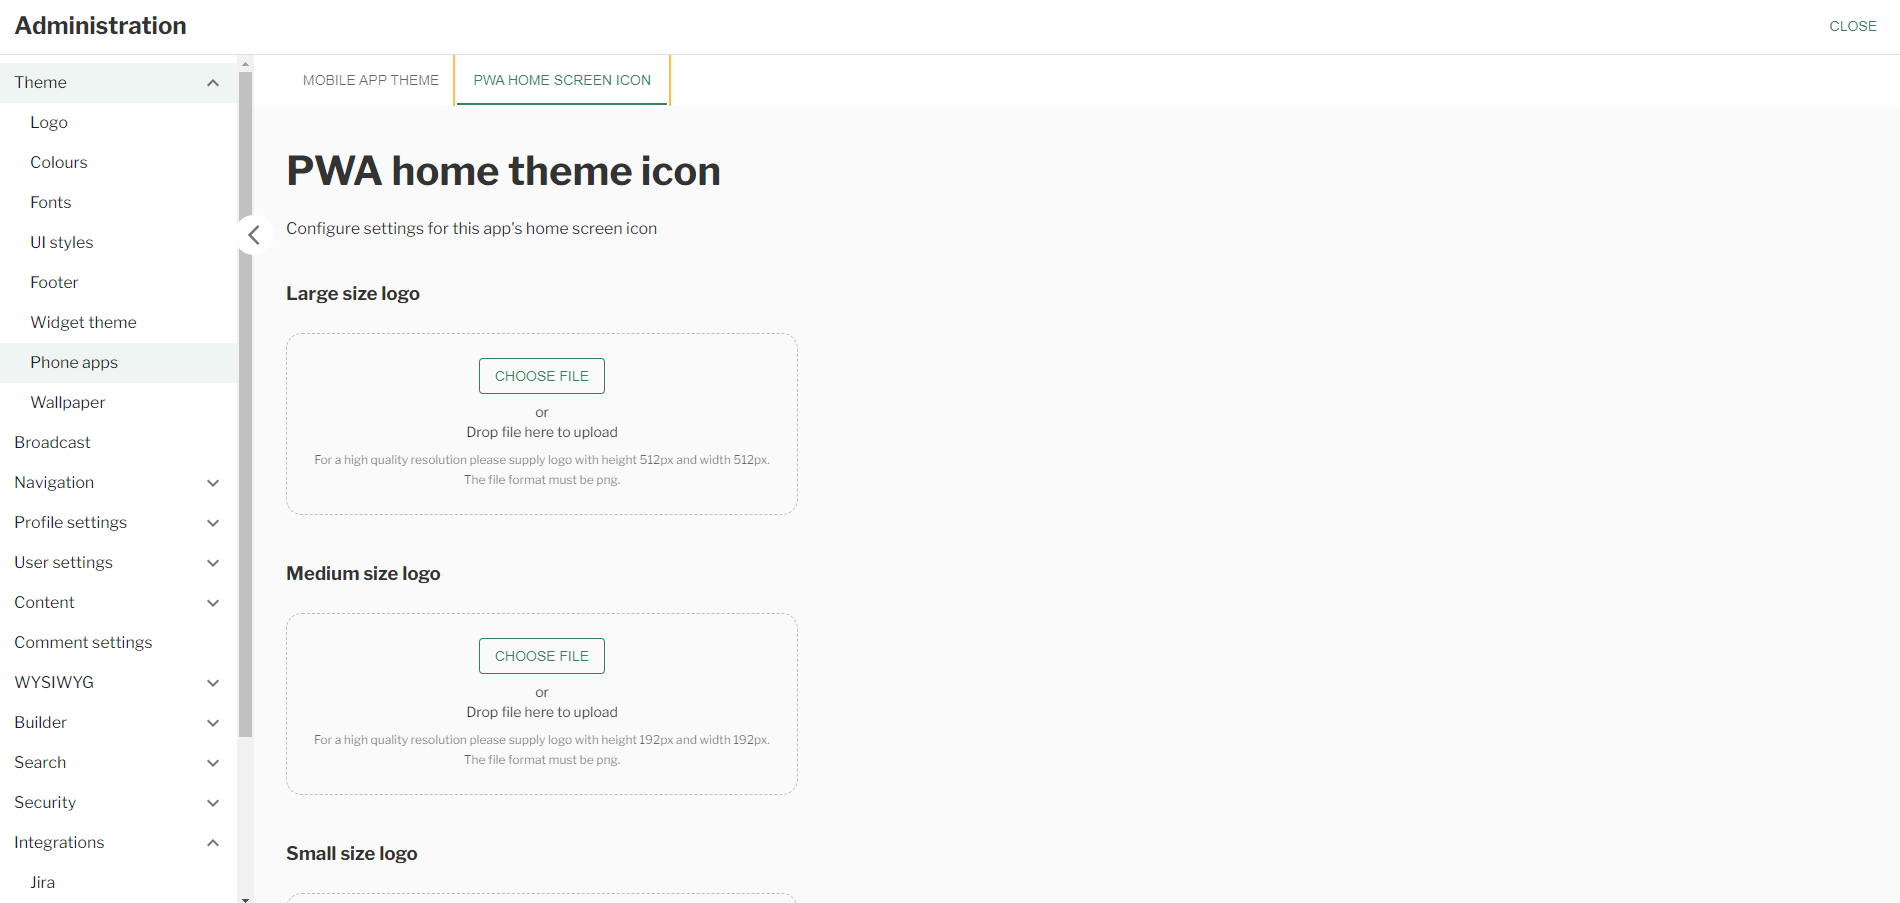
Theme – Phone Apps
Steps
- Navigate to the ‘Workbar’ and select the cog icon (Administration)
- You will be directed to the ‘Administration’ screen
- Select the ‘Theme‘ dropdown on the ‘LHS‘ (Left Hand Side)
- Select the ‘Phone Apps‘ tab
- Select the ‘PWA Home Screen Icon‘ tab
- Here you will be required to add your company ‘logos‘
- Add the ‘large‘ size logo – 512px X 512px
- Add the ‘medium‘ size logo – 192px X 192px
- Add the ‘small‘ size logo – 144px X 144x
- Add the ‘SVG‘ logo
- Select ‘Save‘
Theme – Phone Apps
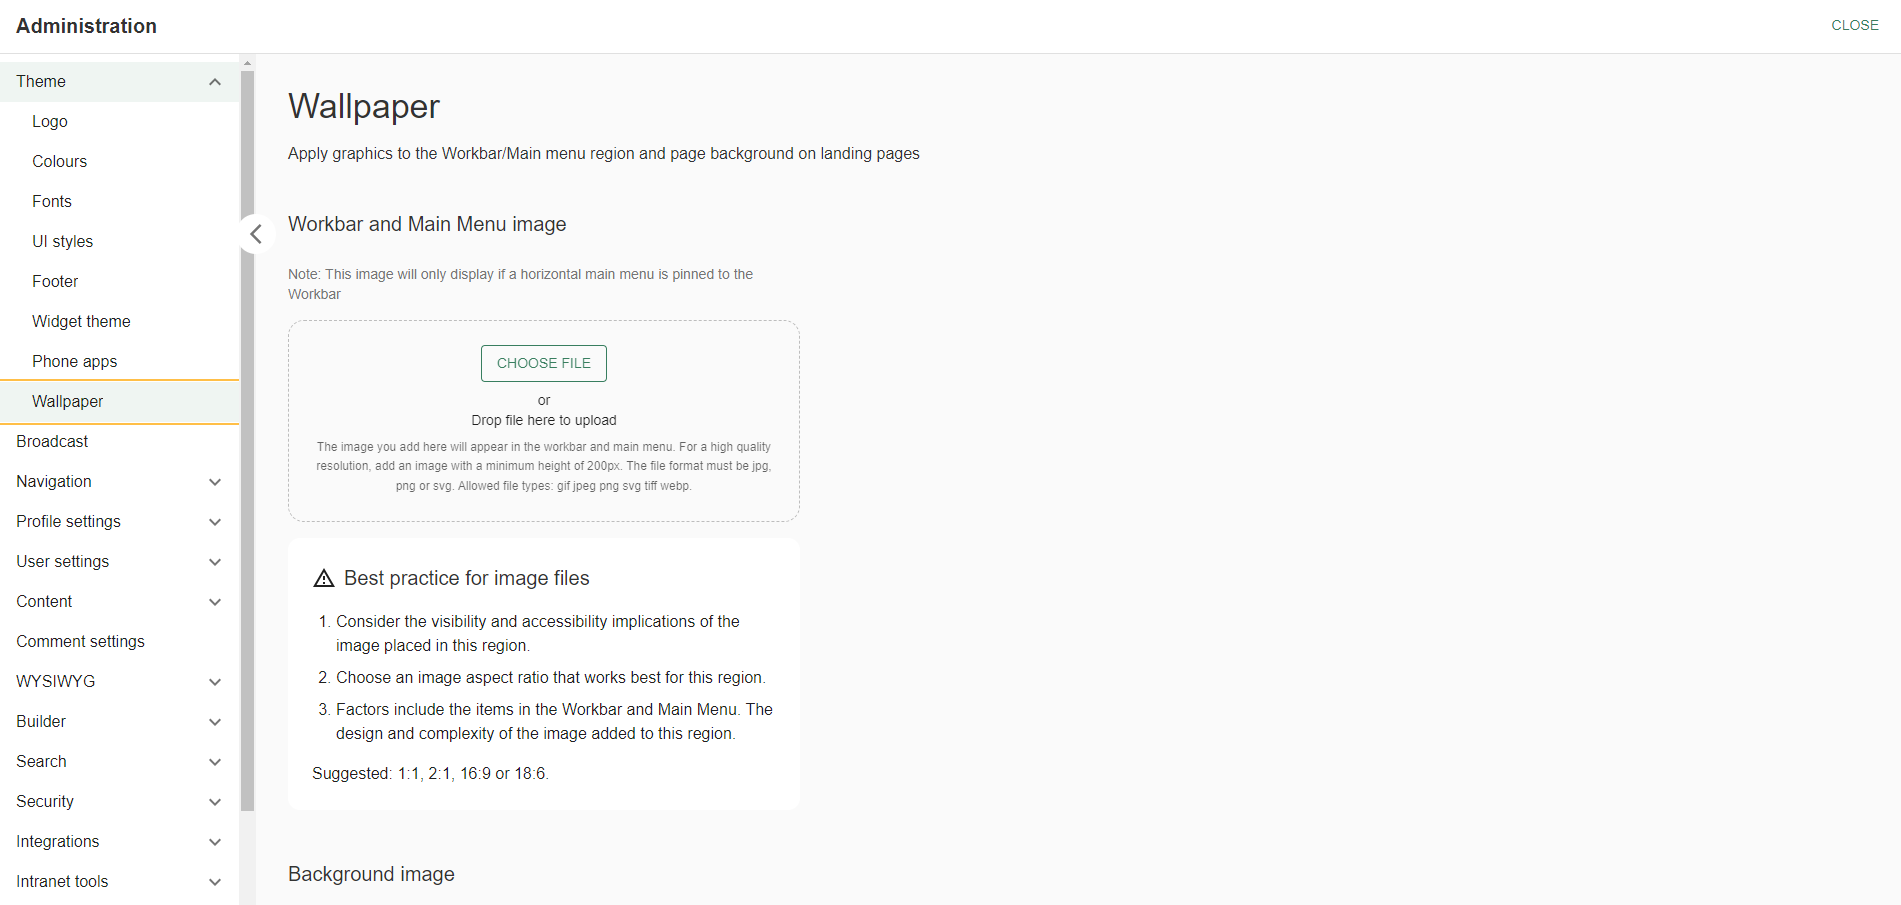
Theme – Wallpaper
Steps
- Navigate to the ‘Workbar’ and select the cog icon (Administration)
- You will be directed to the ‘Administration’ screen
- Select the ‘Theme‘ dropdown on the ‘LHS‘ (Left Hand Side)
- Select the ‘Wallpaper‘ tab
- Add the ‘Workbar and main menu image‘
- Note: follow the best practise guide for the best result
- Add the ‘Background image‘
- Note: follow the best practise guide for the best result
- Select ‘Save‘
Theme – Wallpaper
Steps
- Navigate to the ‘Workbar’ and select the cog icon (Administration)
- You will be directed to the ‘Administration’ screen
- Select the ‘Theme‘ dropdown on the ‘LHS‘ (Left Hand Side)
- Select the ‘Widget Theme‘ tab
- Select the relevant ‘Checkboxes’
- Input the relevant ‘Border Width’ and ‘Border Colour’
- Input the ‘Font Weight’ and ‘Font Colour’ for ‘Widget title font’
- Select the ‘Elevation‘ and ‘Border-radius‘ you would like
- Below you will be able to view the styles in ‘Real time‘
- Select ‘Save‘

Theme – Widget Theme
Steps
- Navigate to the ‘Workbar’ and select the cog icon (Administration)
- You will be directed to the ‘Administration’ screen
- Select the ‘Theme‘ dropdown on the ‘LHS‘ (Left Hand Side)
- Select the ‘Phone Apps‘ tab
- TBC
Steps
- Navigate to the ‘Workbar’ and select the cog icon (Administration)
- You will be directed to the ‘Administration’ screen
- Select the ‘Theme‘ dropdown on the ‘LHS‘ (Left Hand Side)
- Select the ‘Wallpaper‘ tab
- Add the ‘Image’ you would like to display for the ‘Workbar‘ and ‘Main Menu‘
- Add the ‘Image’ you would like to display for the ‘Background image‘
- Select ‘Save‘

Theme – Wallpaper
Wallpaper sample files:
Workbar
![]()
Background
Footer

Couldn't find what you're looking for?
We're here to help. Please raise a support request via our help desk and we'll get back to you asap
Page content