User settings
Learn more about ‘User settings‘ in ‘Adminstration‘
User management
Steps
- Navigate to the ‘Workbar’ and select the cog icon (Administration)
- You will be directed to the ‘Administration’ screen
- Select the ‘User Settings‘ dropdown
- Select the ‘User management’ tab.
- Here you can ‘Add’, ‘Edit’ and ‘Delete’ users on your intranet
- To ‘Invite’ a new user(s) to the intranet:
- Select the “Invite New User” button
- Input their email address
- Select “Enter”
- Select the button labelled “Send Invites” – new users will receive a welcome email and a link to join the intranet

Invite new users
- To ‘Edit’ a user:
- Locate them via the table or type in their username using the “Search Bar” and select “Search”
- When using the ‘Search‘ functionality you can quickly search by ‘Roles‘, ‘Anonymised user‘ & ‘Blocked user‘
- Once you have located the user select their ‘Name‘ you will be redirected to their ‘Profile‘ and you can edit their details
- Select “Save”

User Settings – User Management – Search
- To ‘Delete’ a user:
- Locate them via the table or type in their username using the “Search Bar” and select “Search”
- Once you have located the user(s) select the ‘Checkbox‘ next to their name
- Select the ‘Delete‘ button
- In order to complete bulk actions:
- Select the ‘Checkbox‘ next to the user(s) name
- Select the ‘Bulk Actions‘ button
- Select your ‘Chosen‘ action
- Select ‘apply‘
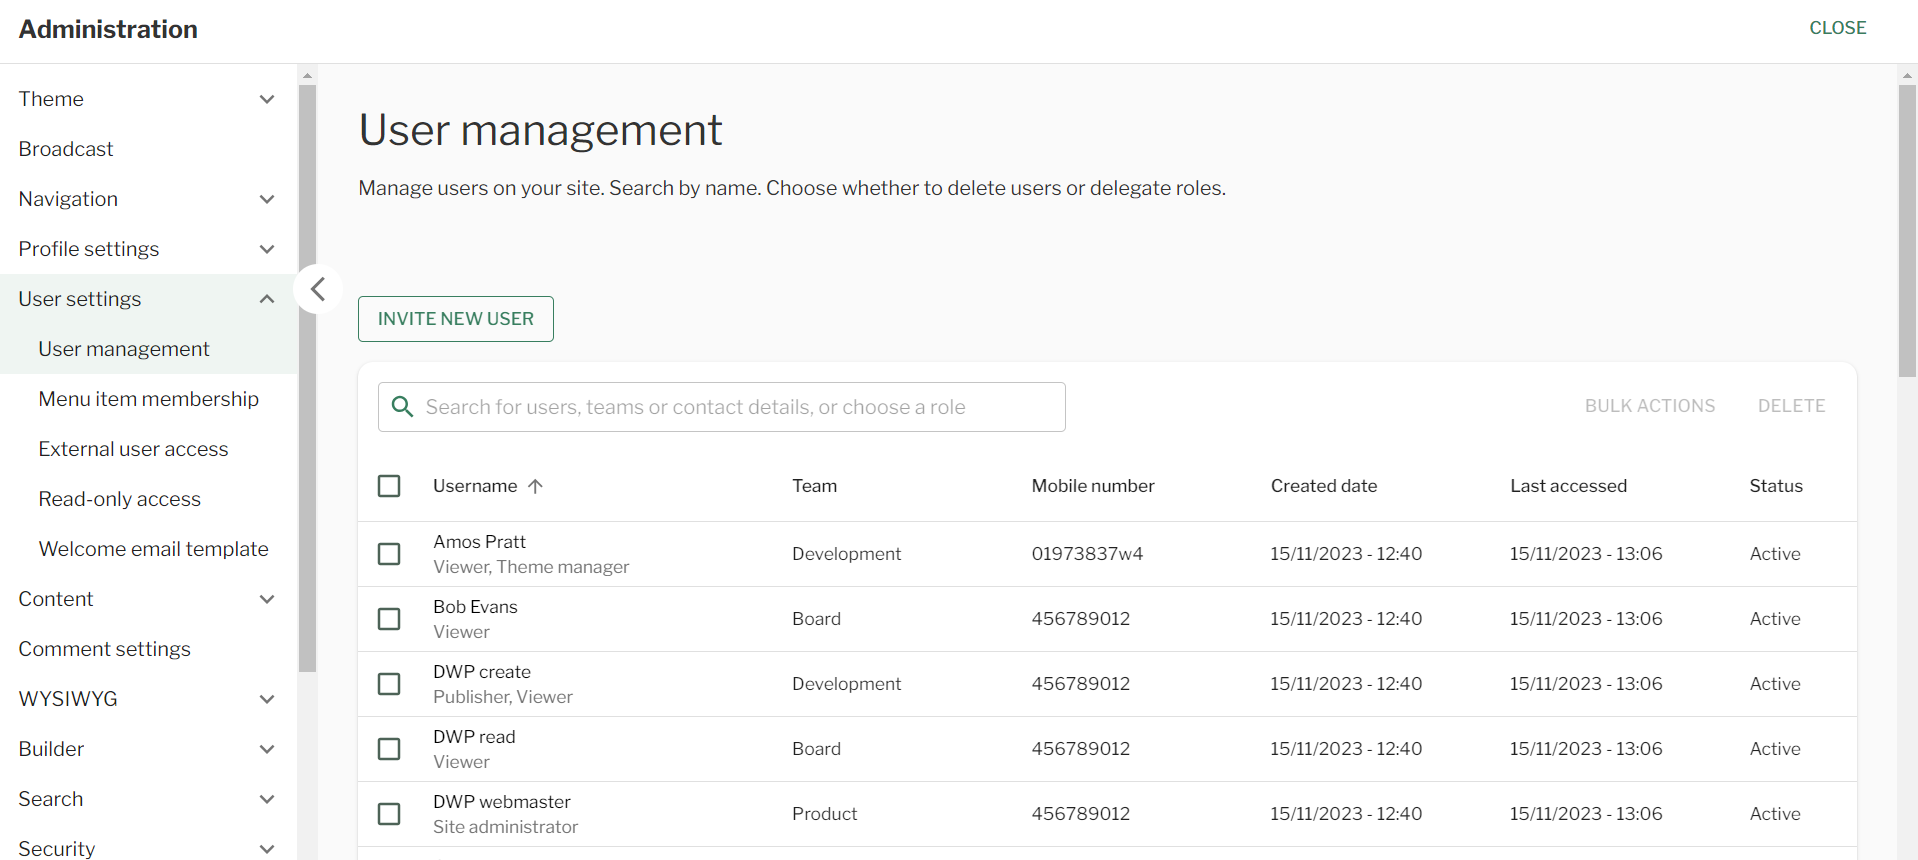
User Settings – User Management
Menu item membership
Steps
- Navigate to the ‘Workbar’ and select the cog icon (Administration)
- You will be directed to the ‘Administration’ screen
- Select the ‘User Settings‘ dropdown
- Select the ‘Menu Item Membership’ tab
- Here you will be presented with the ‘Menu Item Membership‘ screen
- Use the ‘Search bar‘ to be able to search via ‘Username‘ or ‘Menu Item‘
- Filter via ‘User type‘
- Here you will be able to see all the ‘Menu items‘ that the ‘User‘ has access to
- Select the ‘Username‘ to be relocated to their ‘profile‘
- Select the ‘Menu item‘ to be relocated to that ‘Menu item‘ on the intranet.
External user access
Steps
- Navigate to the ‘Workbar’ and select the cog icon (Administration)
- You will be directed to the ‘Administration’ screen
- Select the ‘User Settings‘ dropdown
- Select the ‘External User Access’ tab.
- Select what ‘Apps‘ and ‘Directories‘ external users have access to
- Select ‘Save‘

External User Access Screen [/caption]
Welcome email template
Steps
- Navigate to the ‘Workbar’ and select the cog icon (Administration)
- You will be directed to the ‘Administration’ screen
- Select the ‘User Settings‘ dropdown
- Select the ‘Welcome Email Template’ tab.
- You will be redirected to the ‘Welcome Email Template‘ screen
- Input the ‘Subject‘ of the email
- Choose to upload the ‘banner image‘ to the email if you would like
- Input the ‘Contents‘ of what you would like to be included in the ‘Email‘
- Choose to add any ‘Tokens‘ to the ‘Email‘
- Input the ‘Button text‘ you would like to display and add the ‘URL‘ for the button
- Choose to send a ‘Test email‘ if you would like to
- Select ‘Save‘

Welcome Email Template
Couldn't find what you're looking for?
We're here to help. Please raise a support request via our help desk and we'll get back to you asap