Gallery
Learn more about ‘Gallery‘
What's New
The new intranet update includes significant improvements and changes.
Improvements applied to existing features and functionality include:
-
- Left Hand Side (LHS) - the LHS of the users screen has now been prioritised for just content creation.
- Right Hand Side (RHS) - the RHS Draw is now the ‘administrative’ section of the content types.
- Configuration Panel - Is now located at the bottom of the content type and contains ‘Engage’, ‘Links’, ‘Promote’, ‘Search’, ‘Tags’ and ‘Target’
- WYSIWYG Options - Post update when you access the WYSIWYG you will see the options specific to your role
- Workflow and Revisions - Menu items now have workflow and revisions
Create
Create a ‘Gallery‘
Steps
- Navigate to the ‘Workbar’ and select the ‘Create’ icon (+)
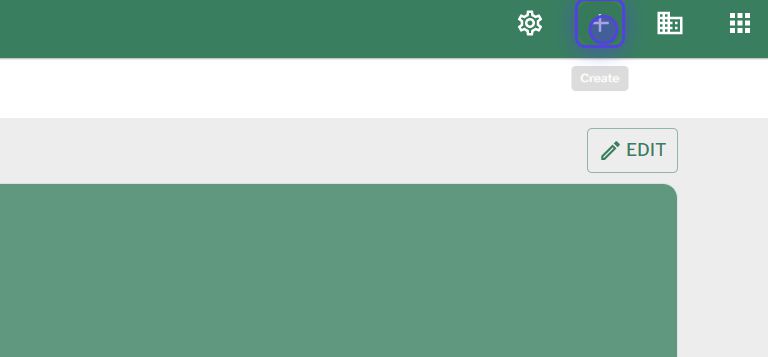
create icon
- Select “Gallery” under the “Content” heading
- You will be directed to the ‘Create gallery’ screen
- Give your ‘Gallery’ a title

create gallery
- To add text and other elements into the body of the gallery, click on ‘Body’
- Add the gallery items in the section and place them in your desired order by clicking and dragging the two ‘Drag Handles’ on the right hand side.
Image styles (including image aspect ratios) and optimised sizes
| Image Style/Aspect Ratio | Visual Reference | Suggested size before upload | Scale |
| 1:1 |  |
Width: 960px Height: 960px |
This style can scale up or down in widgets or on a page |
| 2:1 |  |
Width: 960px Height: 480px |
This style can scale up or down in widgets or on a page |
| 4:3 | 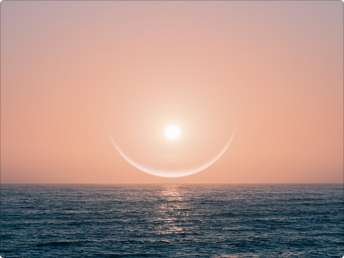 |
Width: 960px Height: 720px |
This style can scale up or down in widgets or on a page |
| 5:7 |  |
Width: 960px Height: 1344px |
This style can scale up or down in widgets or on a page |
| 16:9 |  |
Width: 960px Height: 540px |
This style can scale up or down in widgets or on a page |
Admin
Includes options for:
- Organising content
- Managing workflow
- Adding a featured image
- Attachments
- Revisions
Configure
Includes options for:
- Links
- Tags
- Targeting,
- Promote
- Commenting options
View Gallery
Be able to view a ‘Gallery’
Steps
- Navigate to a ‘Gallery‘ that you would like to view
- Select the ‘Gallery‘
- Select ‘+ Create Gallery Page’ to create a new ‘Gallery’
- Select the ‘Overflow’ menu located in the top right corner (‘Three dots’) in order to:
- ‘Edit’ – You will be able to ‘Edit’ the content if you are the ‘Author’
- ‘Clone’
- ‘Delete’ – You will be able to ‘Delete’ the content if you are the ‘Author’ or ‘Admin’
- ‘Revisions’
- ‘Workflow’
- Located at the top of the content underneath the title of the ‘Gallery‘ you will be able to:
- View the ‘Author‘
- Select the ‘Author’s’ name to be redirected to the ‘Author’s’ profile screen
- View the ‘Published‘ date
- Be able to ‘Save‘ the content
- Be able to ‘Like‘ the content and see who else has ‘Liked’ it
- Be able to ‘Comment‘ on the content and view existing ‘Comments’
- Be able to view any ‘Attached‘ items to the ‘Content’
- View the ‘Author‘
- Any ‘Tags‘ related to the content will be located underneath the ‘Body/Description’
- To ‘Comment’ on the ‘Content‘:
- Select ‘Add a comment here‘ underneath the ‘Comments‘ heading
View full video demo
Couldn't find what you're looking for?
We're here to help. Please raise a support request via our help desk and we'll get back to you asap