Menu-item
Learn more about ‘Menu-item’
What's New
The new intranet update includes significant improvements and changes.
Improvements applied to existing features and functionality include:
-
- Left Hand Side (LHS) - the LHS of the users screen has now been prioritised for just content creation.
- Right Hand Side (RHS) - the RHS Draw is now the ‘administrative’ section of the content types.
- Configuration Panel - Is now located at the bottom of the content type and contains ‘Engage’, ‘Links’, ‘Promote’, ‘Search’, ‘Tags’ and ‘Target’
- WYSIWYG Options - Post update when you access the WYSIWYG you will see the options specific to your role
- Workflow and Revisions - Menu items now have workflow and revisions
Create/edit
Create a new ‘Menu-item’
Steps
- Navigate to the ‘Workbar’ and select the ‘Create’ icon (+)

Create icon
- Select “Menu-item” under the “Navigation” heading
- Input a title
- Add a description

create menu item
- Display where the Menu-item should be displayed
- “Include landing page” – Selecting this option will assign a landing page to this menu item.
- Or
- “Display menu” – Selecting this option will add a menu to the landing page.
View Menu-item
Be able to view a ‘Menu-item‘
Steps
- Navigate to the ‘Main Menu‘
- Select a ‘Menu-item’ you would like to view
- You will be redirected to that ‘Menu-item’
- In the top right corner select the ‘Overflow’ menu (‘Three dots’) in order to:
- ‘Edit’
- ‘Clone’
- ‘Delete’ –
- ‘Revisions’
- ‘Workflow’
The ‘Menu-item’ can be designed to display many different designs due to being able to add multiple different widgets and selecting multiple different layouts. The ‘Menu-item’ also has the ability to reflect different existing templates. This can be used to help provide a common narrative and design across your intranet.
Manage Members
Be able to ‘Manage Members‘ in a ‘Menu-item’
Steps
- Select a ‘Menu-item‘ in the ‘Workbar‘ that you would like to ‘Manage‘ the ‘Members‘
- You will be redirected to the ‘Menu-item‘
- Select the ‘Three dots‘ in the top right of the screen and then select the ‘Manage members‘ option
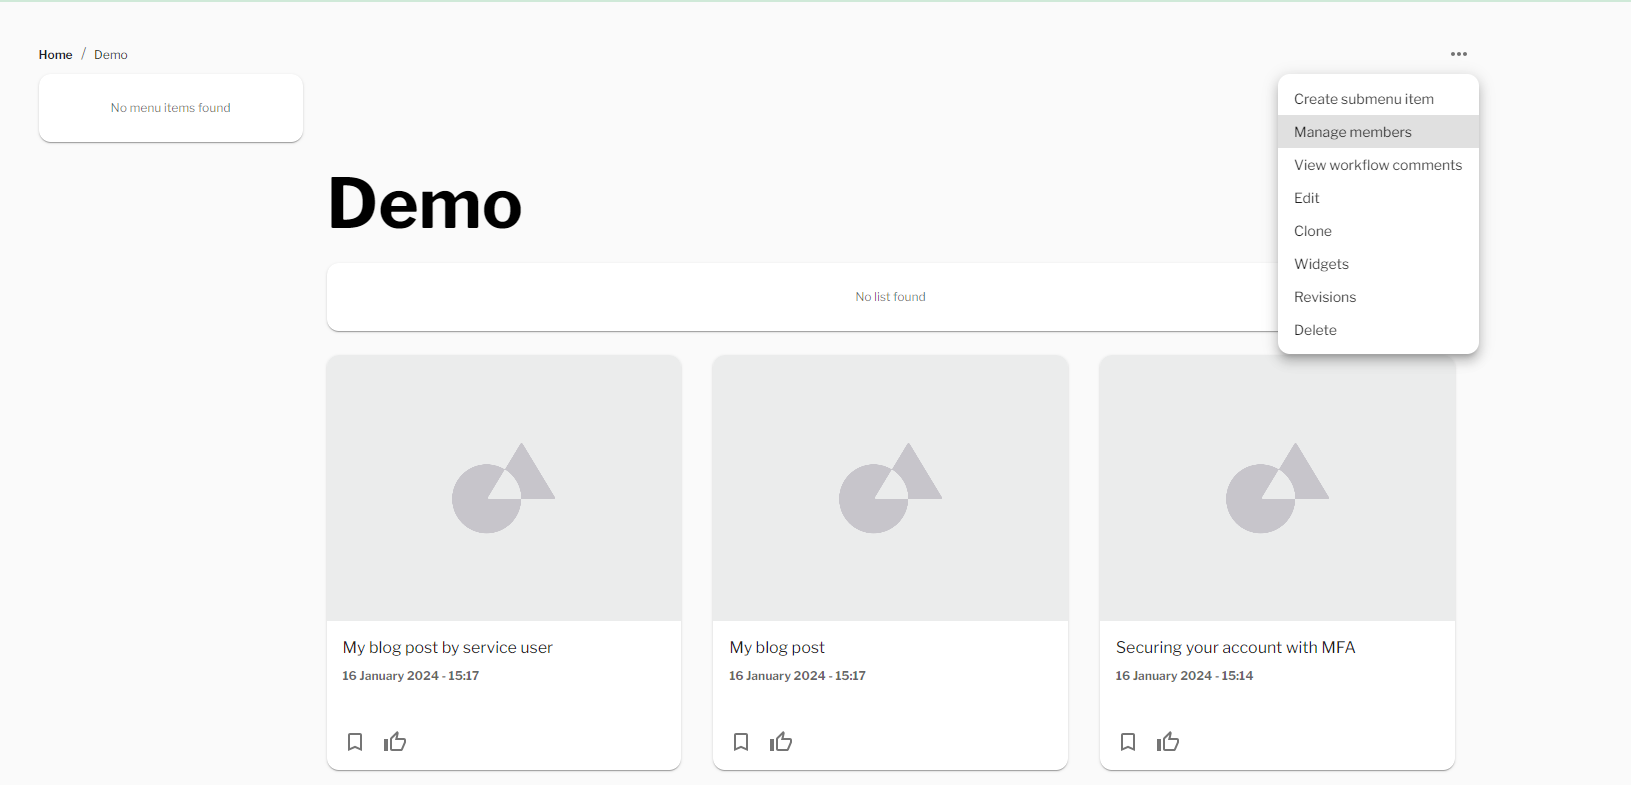
Menu-item – Manage members
- You will be redirected to the ‘Manage Members‘ screen
- Select the ‘Add member‘ button to add members to the ‘Menu-item‘
- Input the ‘Member‘ you would like to add, select ‘Submit‘
- Select the ‘Checkbox‘ next to the member that you would like to either ‘Delegate roles‘ or ‘Delete‘
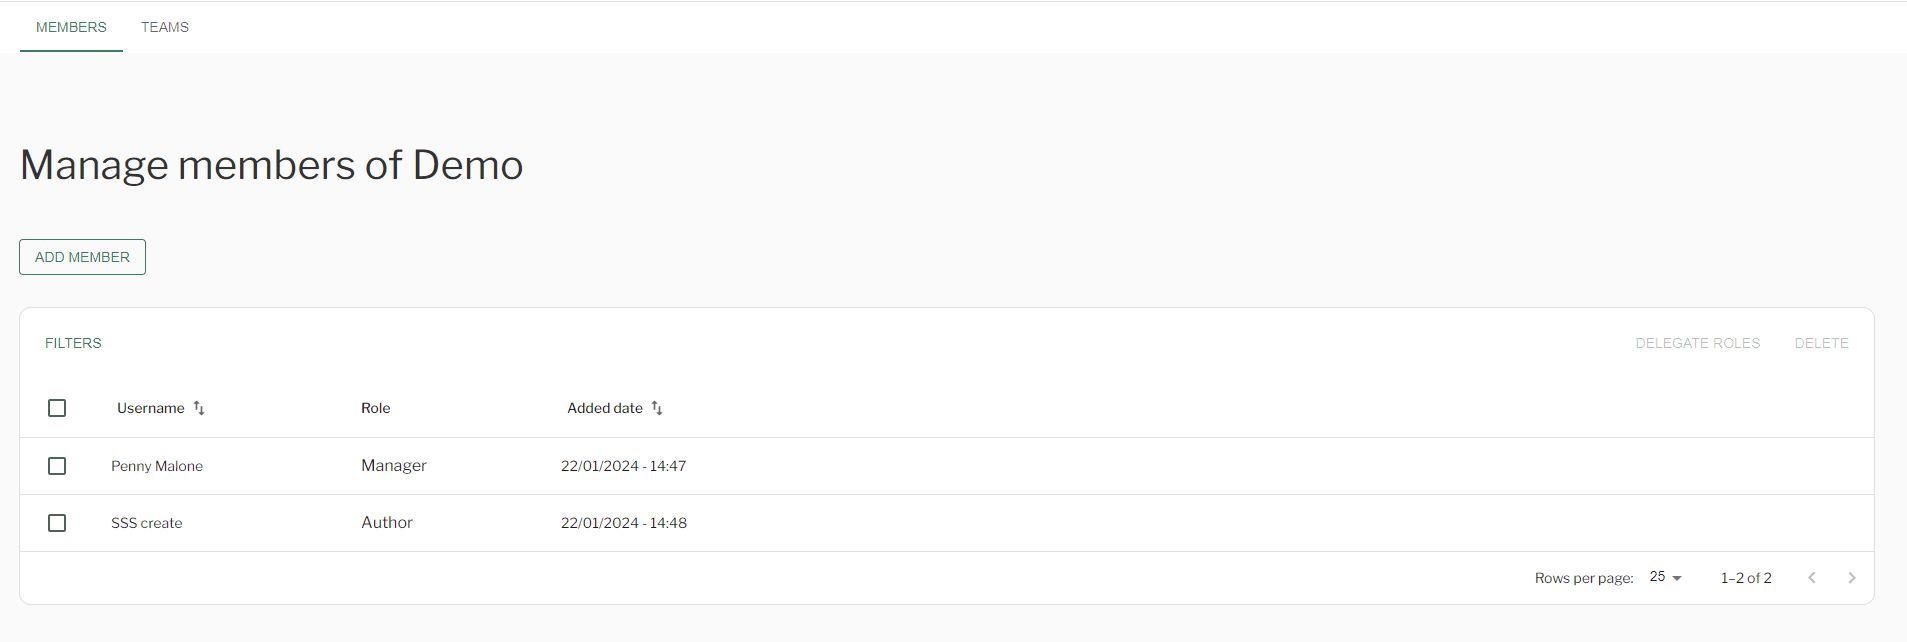
Manage members screen
- Once you have selected the ‘User(s)‘ select the ‘Delegate roles‘ button then select the number of ‘roles‘ you would like to add
- Select ‘Save‘
Admin
Includes options for:
- Organising content
- Managing workflow
- Adding a featured image
- Attachments
- Revisions
Configure
Includes options for:
- Links
- Tags
- Targeting,
- Promote
- Commenting options
Restricted menu items
Restricted menu items are menu items that are only accessible/visible to members of that menu item.
To create a restricted menu item
- Add members to the menu item (See ‘Manage Members‘ above)
- Check the ‘Restricted‘ option in the admin drawer (View full guidance on content admin)
Administration: Site Structure
Locate and manage the ‘Site Structure’ in Administration
Steps
- Locate the “Administration” settings in the ‘Workbar’
- You will be redirected to the “Administration” screen
- On the left hand side select “Site Structure”
- Here you can:
- Create “Menu Item” – Select the “Create Menu Item” button
- View “Menu Items” – Select the “Menu Item” you want to view
- Create “Submenu item” – Select the overflow button (three dots)
- Edit “Menu Item” – Select the overflow button (three dots)
- Delete “Menu Item” – Select the overflow button (three dots)
Demo
Couldn't find what you're looking for?
We're here to help. Please raise a support request via our help desk and we'll get back to you asap