
List
Learn more about ‘List‘
What's New
The new intranet update includes significant improvements and changes.
Improvements applied to existing features and functionality include:
-
- Left Hand Side (LHS) - the LHS of the users screen has now been prioritised for just content creation.
- Right Hand Side (RHS) - the RHS Draw is now the ‘administrative’ section of the content types.
- Configuration Panel - Is now located at the bottom of the content type and contains ‘Engage’, ‘Links’, ‘Promote’, ‘Search’, ‘Tags’ and ‘Target’
- WYSIWYG Options - Post update when you access the WYSIWYG you will see the options specific to your role
- Workflow and Revisions - Menu items now have workflow and revisions
Create list
Create a new ‘List’
Steps
- Navigate to the ‘Workbar’ and select the ‘Create’ icon (+)
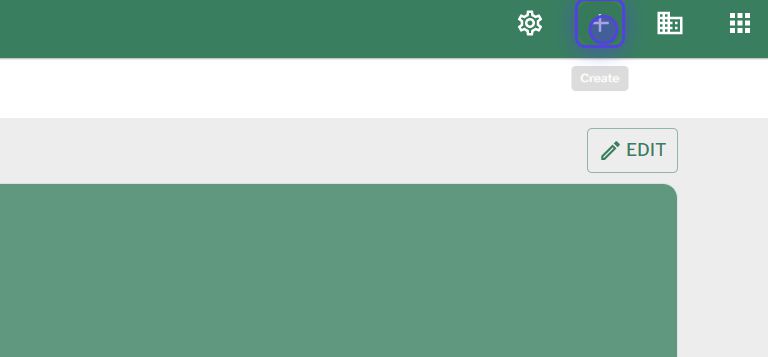
create icon
- Select “List” under the “Content” heading
- You will be directed to the ‘Create list’ screen.
- Give your ‘List’ a title

create list
- To add text and other elements into the body of the list, click on ‘Start typing’ .
- In the list section input the content type between
- ‘Subheader’
- ‘Content type’
- ‘Menu item’
- ‘File’
- ‘External link’
- Input the title that the content has been saved as
- Select ‘Override title’ and input the title that you would like to be displayed for that ‘List’
- Select ‘Add Another Item’ to add more than one ‘List’
- Order the lists by selecting and dragging the two ‘Drag Handles’ to the left of the ‘List’
Admin
Includes options for:
- Organising content
- Managing workflow
- Adding a featured image
- Attachments
- Revisions
Configure
Includes options for:
- Links
- Tags
- Targeting,
- Promote
- Commenting options
View List
Be able to view ‘List‘
Steps
- Navigate to a ‘List‘ that you would like to view
- Select the ‘List‘
- Select the ‘Overflow’ menu located in the top right corner (‘Three dots’) in order to:
- ‘Edit’ – You will be able to ‘Edit’ the content if you are the ‘Author’
- ‘Clone’
- ‘Delete’ – You will be able to ‘Delete’ the content if you are the ‘Author’ or ‘Admin’
- ‘Revisions’
- ‘Workflow’
- Located at the top of the content underneath the title of the ‘List‘ you will be able to:
- View the ‘Author‘
- Select the ‘Author’s’ name to be redirected to the ‘Author’s’ profile screen
- View the ‘Published‘ date
- Be able to ‘Save‘ the content
- Be able to ‘Like‘ the content and see who else has ‘Liked’ it
- Be able to ‘Comment‘ on the content and view existing ‘Comments’
- Be able to view any ‘Attached‘ items to the ‘Content’
- View the ‘Author‘
- Any ‘Tags‘ related to the content will be located underneath the ‘Content’
- The ‘List’ is located underneath the ‘Tags’
- The type of ‘Content’ in the ‘List’ is indicated to the right of the item. For example:
- ‘Doc’
- ‘Image’
- ‘Audio’
- ‘Video’
- The type of ‘Content’ in the ‘List’ is indicated to the right of the item. For example:
- To ‘Comment’ on the ‘Content‘:
- Select ‘Add a comment here‘ underneath the ‘Comments‘ heading
View full video demo
Couldn't find what you're looking for?
We're here to help. Please raise a support request via our help desk and we'll get back to you asap